Successfully propagating a thai constellation monstera requires isolating a healthy stem node, utilizing sterile tools, and providing a highly oxygenated, warm rooting medium. Unlike standard green monsteras, this variegated cultivar features lower chlorophyll levels, making its tissue more susceptible to decay. By focusing on precise cut placement, sanitizing all equipment, and maintaining high humidity, growers can consistently initiate strong root development on new propagation cuttings.
Understanding the biological needs of this rare plant is the key to preventing the rot that frequently claims delicate cuttings. With patience and the proper technique, a single node can be cultivated into a robust, independent plant.
Identifying the Perfect Node for Propagation
To succeed with node propagation, one must first understand the anatomy of the plant stem. A node is the swollen ring on the stem where petioles (leaf stems) and aerial roots emerge. New growth buds, also known as axillary buds or “eyes,” are located just above these nodes.
Without a node, a leaf stem will not produce new growth. It may grow roots in water, but it will never develop into a full plant. When selecting a node on a thai constellation monstera, look for:
- A prominent axillary bud that appears healthy and undamaged.
- At least one aerial root, which significantly accelerates the rooting process.
- A thick, firm section of the stem with active variegation patterns.
Avoid sections of the plant that show signs of distress, such as yellowing leaves or soft tissue, as these conditions can compromise the survival of the cutting.
Essential Tools and Sanitation Protocols
Variegated monstera tissue is highly vulnerable to bacterial and fungal pathogens. Ensuring everything that contacts the plant is completely sterile is the first line of defense against rot.
Before making any cuts, gather the following supplies:
- A sharp bypass pruning shear or a clean utility knife. Avoid anvil pruners, which can crush delicate plant tissues.
- Isopropyl alcohol (70% or higher) to sterilize the blade before and after each cut.
- A rooting substrate such as coarse perlite, pumice, or sphagnum moss.
- A clean container, preferably transparent, to monitor root development easily.
- A commercial rooting hormone (optional), used strictly in accordance with the manufacturer’s label instructions.
Allow the sterilized blade to dry completely before touching the plant tissue, as wet alcohol can cause chemical damage to the cut edge.
Step-by-Step Guide to Taking the Cut
Once the tools are prepared and the ideal node is identified, the physical separation can begin.
First, identify the cut zones. The cut must be made approximately half an inch to an inch away from the node on both sides. This leaves enough stem tissue to support the node while preventing damage to the axillary bud.
Next, make a clean, swift cut. Position the blade perpendicular to the stem and press down firmly to create a smooth surface. Angled cuts are unnecessary and expose a larger surface area to potential pathogens.
Finally, let the wound callus. Place the fresh propagation cuttings in a warm, dry area with good airflow for 12 to 24 hours. The cut ends should feel dry and paper-like before placing them in any rooting medium. This callusing process acts as a natural barrier against moisture-borne bacteria.
Choosing the Right Rooting Medium
Selecting the proper substrate determines how quickly and safely the thai constellation monstera develops a robust root system.
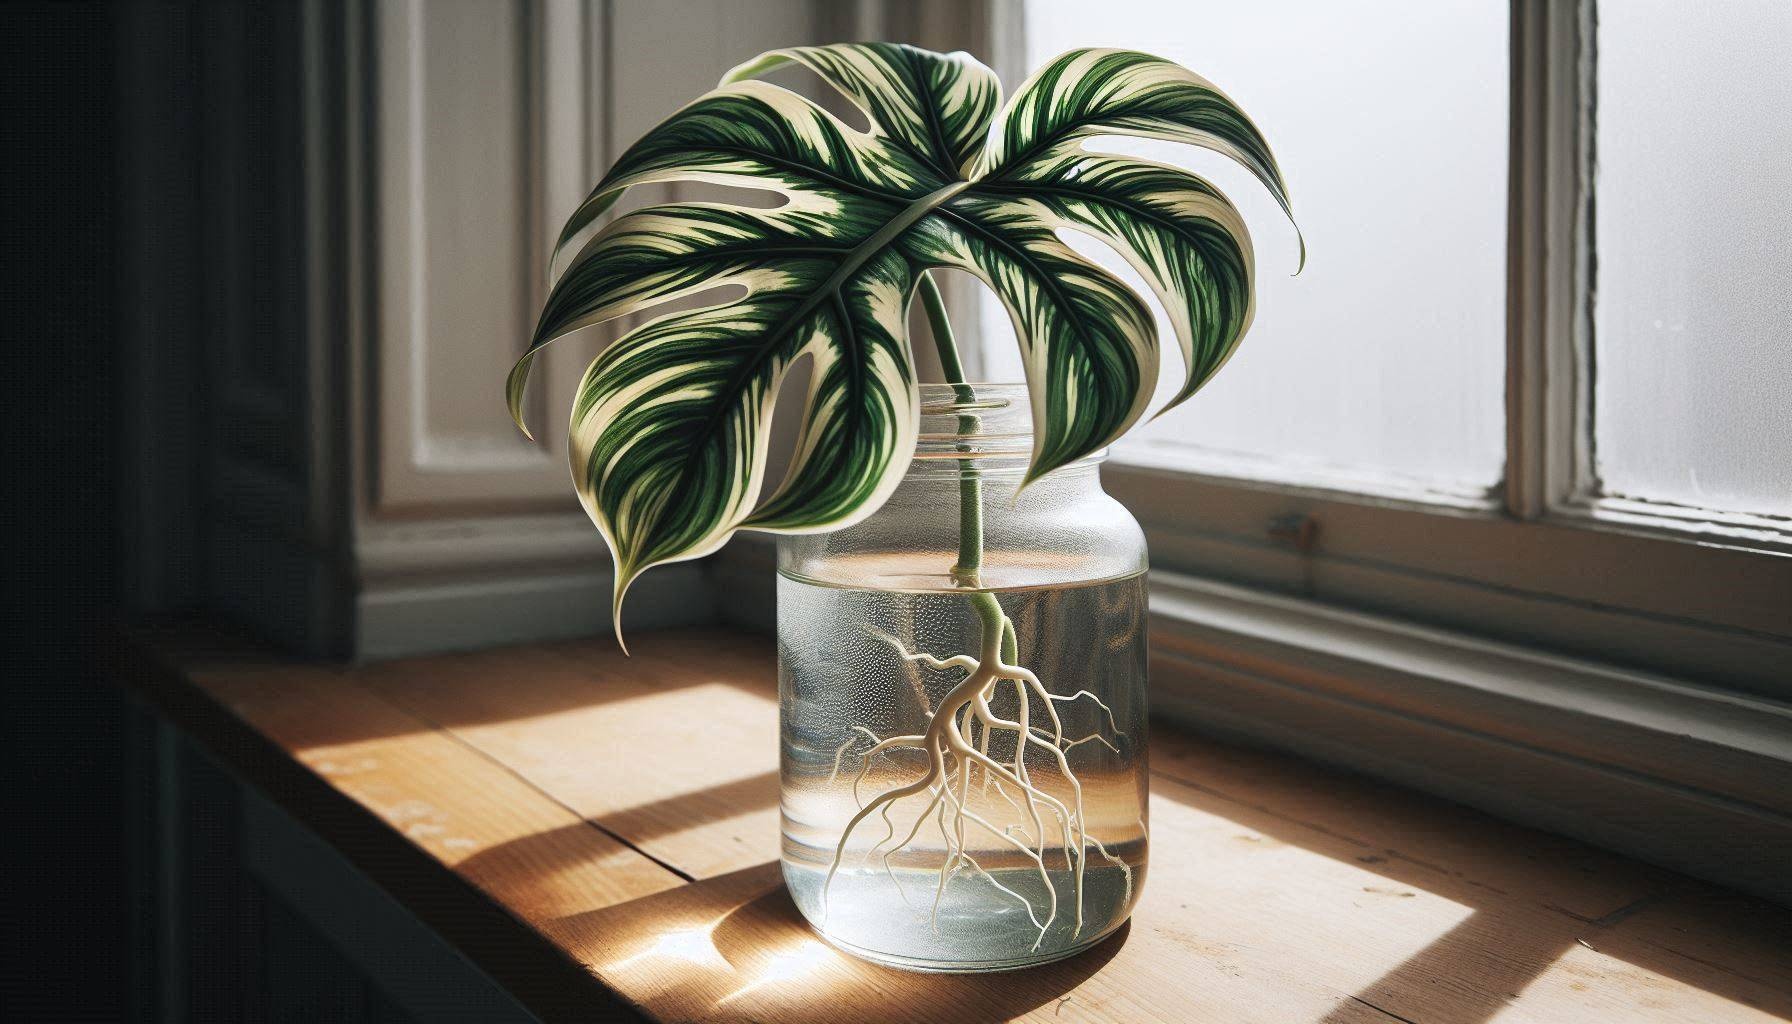
Many growers debate the merits of different mediums. While water propagation allows for easy monitoring, it often produces fragile roots that struggle to transition to soil later. Some prefer sphagnum moss for its moisture retention and natural antimicrobial properties. To understand if this is the best path for a specific setup, read the analysis on Is Sphagnum Moss Actually the Holy Grail for Rare Plant Propagation?.
An alternative is a mix of coarse perlite and water. Perlite provides excellent aeration, keeping the roots well-oxygenated. Consider the following parameters for each medium:
- Water propagation: Change the water every three to five days to prevent oxygen depletion and algae growth.
- Sphagnum moss: Keep the moss damp, never dripping wet, and do not pack it tightly around the stem.
- Perlite/Pumice: Fill a container with dry perlite, add water until it covers the bottom third, and insert the cutting.
Caring for the Cutting During the Rooting Phase
After placing the cutting in its medium, environmental conditions must be carefully managed. Warmth and light are the primary drivers of root development.
Bright, indirect light is essential. Variegated leaves require more light to photosynthesize effectively, but direct sunlight will quickly scorch the delicate variegated patches. To find the perfect light balance, consult How Much Light Do Your Rare Aroids Actually Need? A Real-Talk Guide to Happy Leaves.
Keep the temperature between 70°F and 80°F (21°C to 27°C). A seedling heat mat placed under the propagation vessel can help maintain consistent warmth, which encourages faster root initiation. High humidity (above 60%) is also beneficial, as it reduces water loss through the leaves while the cutting lacks a functional root system. A clear plastic dome or a propagation box can assist in trapping humidity.
Troubleshooting Common Propagation Issues
During the propagation process, things may not always go smoothly. It is vital to recognize potential issues early.
Leaf Yellowing
Yellowing leaves can be caused by natural aging, but they can also indicate that the cutting is redirecting energy to root development. However, if the yellowing is accompanied by a soft, mushy stem, decay may be occurring.
Mushy Stem Ends or Darkening Aerial Roots
If the cut ends of the stem or the aerial roots turn black, soft, and slimy, this suggests bacterial or fungal decay. To address this:
- Remove the cutting from the medium immediately.
- Cut away any soft, compromised tissue using a sterilized blade.
- Allow the remaining healthy stem to dry and callus again.
- Sanitize the vessel and replace the rooting medium completely before reintroducing the cutting.
If new leaves emerge completely green during subsequent growth phases, it may be a sign of reversion. For guidance on managing this, review The Heartbreak of Reversion: Why Your Variegated Monstera is Turning Green (and How to Save It).
Frequently Asked Questions
How long does it take for a Thai Constellation cutting to root?
Root development typically begins within two to four weeks under optimal conditions, though it can take up to two months. Secondary root systems, which are necessary before potting the plant in soil, generally take an additional three to six weeks to form.
Can a Thai Constellation cutting survive without leaves?
Yes, a wet stick cutting—which consists of a bare node with no leaves—can successfully propagate. However, because it lacks leaves to photosynthesize, the process is much slower and requires precise control over humidity and light to prevent rot before new growth emerges.
When is the cutting ready to be potted into soil?
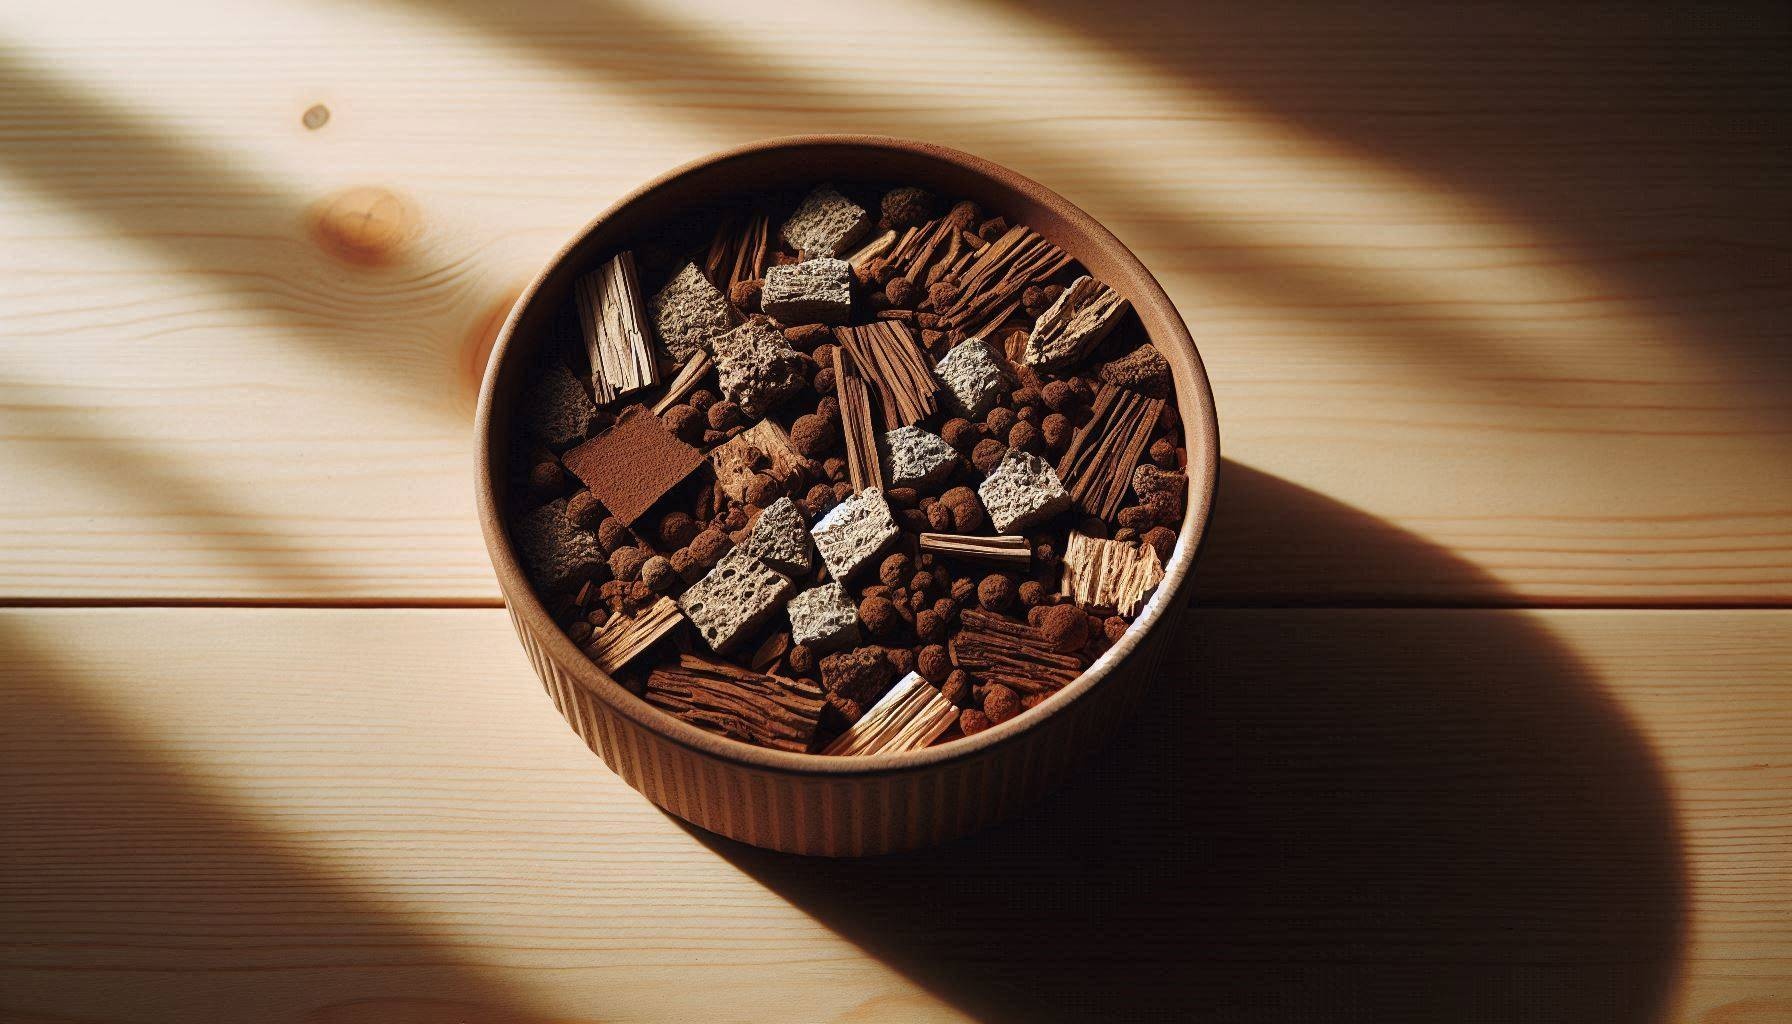
A cutting is ready for a chunky, well-draining soil mix when the root system has grown secondary lateral roots (roots growing off the main roots) that are at least three to four inches long. Potting a cutting with insufficient root development often leads to transplant shock or rot.
Next Steps for a Thriving Monstera
To transition a rooted cutting successfully, select a small pot with ample drainage holes and a highly porous, chunky soil mix containing orchid bark, perlite, and peat moss. Keep the soil slightly moist for the first two weeks to help the new roots acclimate, then transition to a regular watering schedule, allowing the top few inches of soil to dry out completely between waterings.