Capturing stunning, high-quality photographs of rare houseplants requires a thoughtful combination of diffused natural light, clean foliage, intentional staging, and accurate color balance. Highlighting intricate leaf textures, velvety surfaces, and high-contrast variegation depends far more on lighting control and framing than on expensive camera equipment. By adopting straightforward botanical photography techniques, plant collectors can clearly document leaf growth, preserve natural colors, and elevate how they share their plants online while keeping their specimens healthy and safe.
Harnessing Natural Light for Variegation and Texture
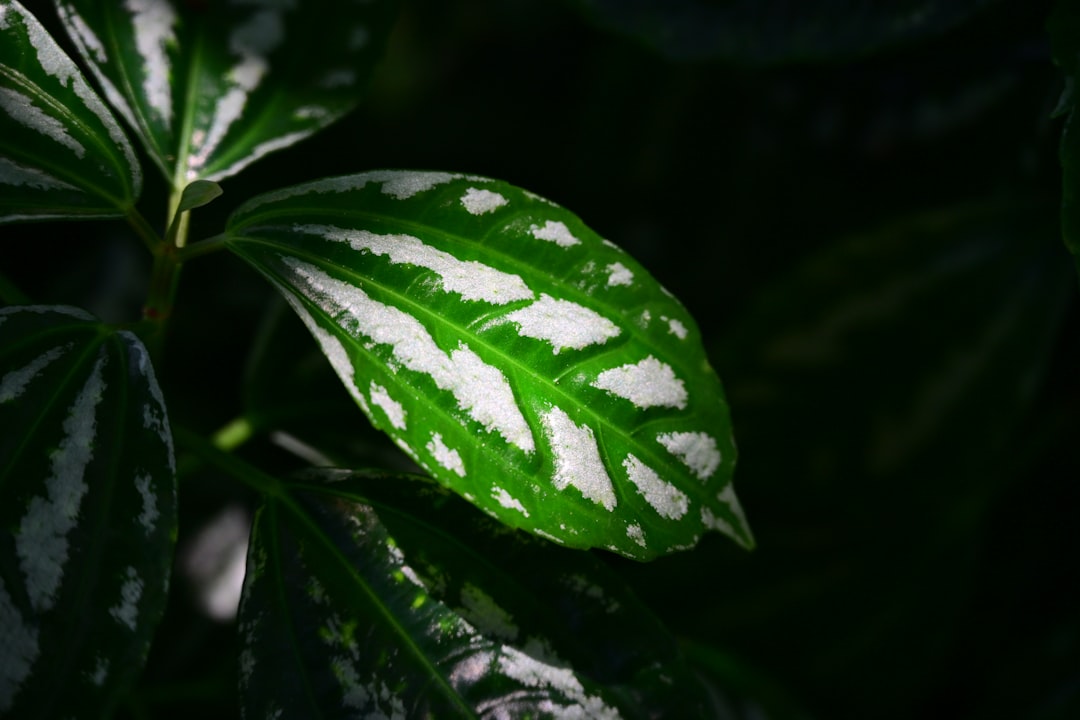
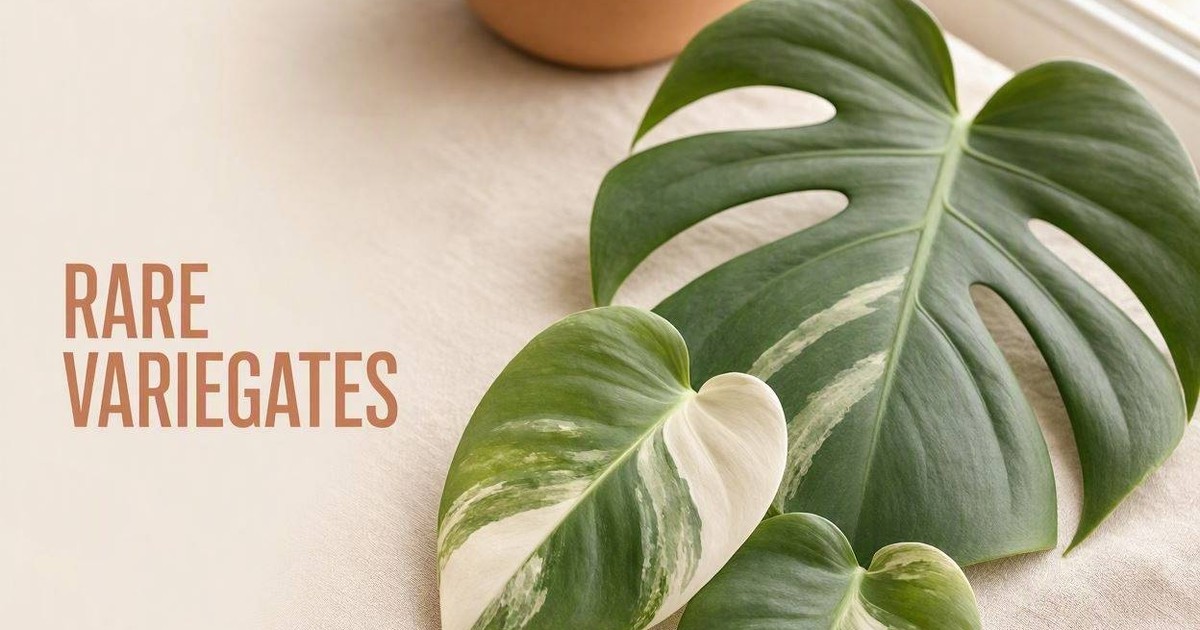
Light is the single most important element in plant photography. Variegated foliage—such as the high-contrast white patches on a Monstera deliciosa ‘Albo Borsigiana’ or the soft mint hues on an Epipremnum pinatum—reflects light differently than standard green leaves. Direct midday sun creates harsh glares, washes out pale sectoral variegation, and introduces deep shadows that hide fine structural details.
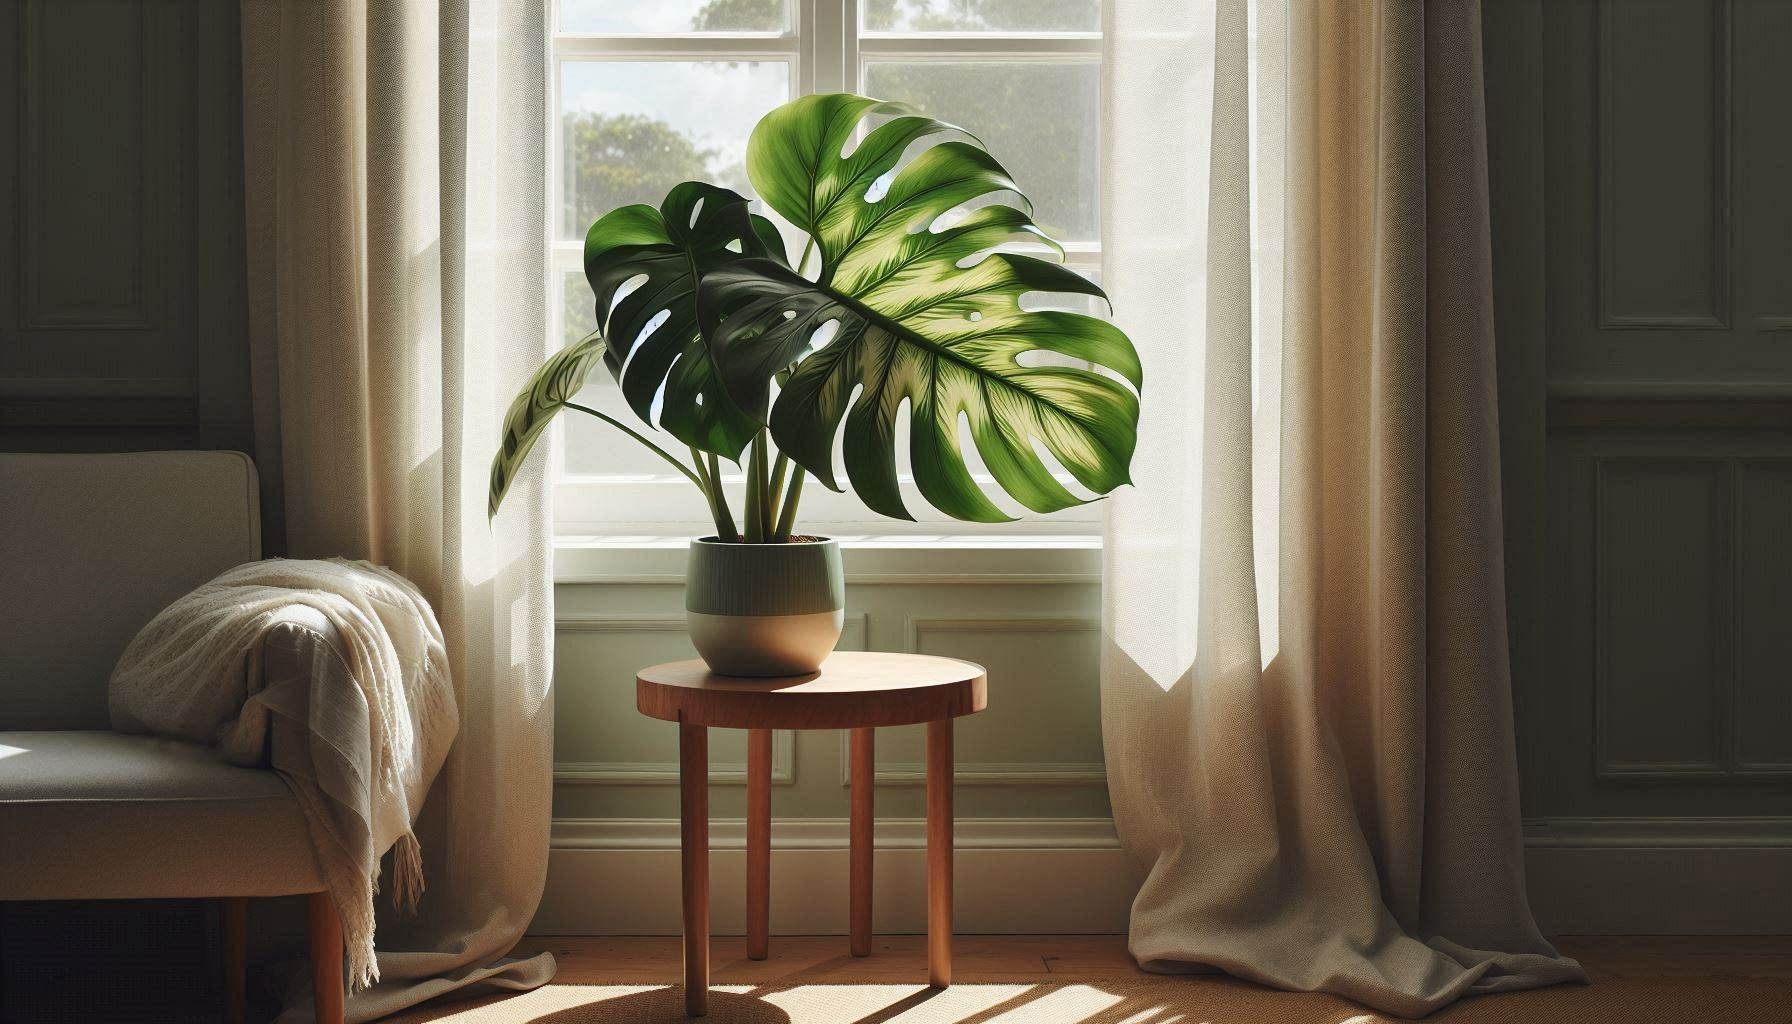
Diffused, indirect natural light provides the even exposure needed to capture true-to-life leaf patterns. Setting up shots near a large north- or east-facing window offers soft illumination that accentuates details without blowing out light-colored leaf tissues. If photographing near a bright south- or west-facing window, a sheer white curtain helps soften harsh rays into a smooth, flattering glow.
Positioning the light source relative to the plant alters the final visual effect:
- Side lighting: Placing the window or light source to the left or right of the leaf emphasizes three-dimensional texture, prominent veining, and ridges on ruffled foliage.
- Backlighting: Positioning light behind translucent leaves—such as emerging growth on Philodendron or Anthurium species—highlights delicate cell structures, rich red tones, and golden venation.
- Front lighting: Soft, direct front light ensures even exposure across heavily patterned leaves, though it can flatten texture if not carefully balanced with ambient shadow.
When capturing delicate foliage acquired while building a rare plant collection on a tight budget, sharp, well-lit imagery lets every unique detail stand out without requiring professional studio lighting setups.
Preparing and Cleaning Foliage Safely Before the Shoot
High-resolution camera sensors capture every speck of dust, dried hard water deposit, and debris resting on a leaf blade. Cleaning foliage prior to taking photos ensures that natural leaf sheen and color crispness show clearly in every frame. However, cleaning methods must prioritize plant safety over temporary cosmetic appeal.
To clean leaves safely without harming the plant, follow a gentle preparation routine:
- Dust removal: Gently wipe top and bottom leaf surfaces using a clean, soft microfiber cloth dampened lightly with room-temperature distilled water. Support the leaf from underneath with one hand to avoid tearing fragile petioles or snapping new tips.
- Hard water spots: Dilute a few drops of pure lemon juice or mineral-free water to wipe away mineral rings on waxy leaves. Avoid scrubbing rough or velvety leaf surfaces.
- Drying time: Allow the foliage to dry completely in an area with good air circulation before taking photographs to prevent water spots or wet glare under camera lights.
Avoid applying commercial leaf shine sprays, coconut oil, neem oil, or butter to plant foliage before a photoshoot. While these substances produce an immediate high-gloss finish, oil-based coatings clog leaf stomata, obstruct normal transpiration, and trap ambient heat. Under bright photography lights or natural sunlight, oil-coated foliage can suffer heat scorch or leaf drop.
It is equally important to distinguish harmless cosmetic marks from underlying physiological issues during preparation. Distinguishing observable signs from underlying causes helps prevent misdiagnosing healthy plants:
- White powdery film: Often simple dust or hard water residue that wipes away easily, though consistent chalky patches across damp leaves may point to fungal issues like powdery mildew.
- Crisp brown margins: Frequently caused by low ambient humidity or localized dry air, whereas dark, soft brown lesions surrounded by yellow halos may indicate bacterial or fungal leaf spot.
- Pale speckling: May result from natural leaf age or dust accumulation, but fine stippling accompanied by delicate webbing beneath the leaf sinus often signals spider mite activity.
Styling Backgrounds and Framing to Highlight Plant Detail
A clean background keeps the viewer’s visual focus entirely on the plant’s natural silhouette and variegation. Complex room backgrounds, cluttered shelves, or high-contrast wallpaper pull attention away from subtle leaf patterns and intricate fenestrations.
Neutral, matte backgrounds work best for highlighting diverse foliage. Pale grey, soft beige, warm charcoal, terracotta, or natural unpainted wood surfaces complement green and white tones without competing for visual dominance. Using a smooth roll of craft paper, a plain wall, or a solid piece of poster board behind the pot creates an instant, distraction-free backdrop.
When framing shots for popular visual platforms featuring instagram plants, compositional structure makes a significant difference:
- Use vertical framing: Vertical 4:5 aspect ratios maximize screen area on mobile devices, filling the frame with leaf structure from top petiole to base.
- Apply the rule of thirds: Position the focal point—such as an emerging leaf tip, a dramatic fenestration, or a high-contrast variegation block—along intersecting grid lines rather than dead-center for a balanced composition.
- Maintain spatial scale: Place simple, recognizable elements like a plain terracotta pot or a clean wooden moss pole within the frame to give viewers an accurate sense of leaf size and plant proportion.
When documenting dynamic growth stages in featured specimens—such as those selected from the best rare plants for beginners seeking an engaging challenge—consistent framing allows viewers to follow leaf development over time clearly.
Camera Settings and Focus Techniques for Fine Details
Achieving sharp, detailed macro shots of velvety foliage, dark veins, or delicate emerging leaves requires mastering basic camera controls. While dedicated macro lenses on DSLR cameras provide exceptional depth, modern smartphone cameras are fully capable of producing crisp results when calibrated correctly.
Auto-exposure systems often struggle with variegated leaves because the high contrast between dark green tissue and stark white patches confuses camera sensors. This frequently leads to blown-out, featureless white sections or overly dark green areas.
To maintain perfect exposure and focus:
- Set manual focus: Tap the screen directly on the key area of interest—such as the sinus of an Anthurium leaf or the edge of a variegated leaf splash—to lock focus precisely.
- Adjust exposure manually: Lower the camera exposure slider slightly until white leaf sections display crisp surface texture rather than solid white glare.
- Avoid aggressive portrait mode: Software-based portrait modes often misinterpret thin leaf edges, petioles, and aerial roots as background elements, creating unintended blur around fine plant structures.
- Keep the camera steady: Use a small tripod or rest wrists against a flat surface to minimize micro-shakes, especially in lower natural light conditions.
Capturing precise details builds credibility when showcasing collection progress online. For hobbyists exploring Why Do Rare Houseplants Cost Hundreds of Dollars?, presenting clear, unblurred photos helps demonstrate true leaf quality, node health, and genuine pattern stability.
Color Editing and Preserving Authentic Variegation
Post-processing should enhance clarity and correct light imbalances rather than alter the natural appearance of the plant. Over-editing photos by cranking up saturation or contrast distorts real foliage hues, making bright greens look neon and pale yellow variegation look unnaturally artificial.
When applying digital adjustments, prioritize authenticity:
- White balance: Adjust white balance settings so that white pot edges or backdrops look neutral, ensuring leaf colors match their physical real-life appearance.
- Vibrance vs. Saturation: Use vibrance controls instead of saturation adjustments. Vibrance selectively lifts muted mid-tones without over-saturating already bright leaf colors.
- Shadows and Highlights: Recover lost detail in dark velvety leaves by gently boosting shadows, and pull back highlights to reveal subtle veins inside bright white leaf sectors.
Accurate editing guarantees that photographs serve as a trustworthy representation of the plant’s health and true physical form.
Frequently Asked Questions
Why do white leaf sections always look overexposed or washed out in photos?
White leaf sections reflect considerably more light than surrounding dark green tissues, causing camera sensors to overexpose bright areas. Tapping the white leaf section to lock focus and lowering the exposure compensation slider slightly before taking the shot restores visible surface texture and detail.
Should chemical leaf shine products be used to make plant leaves glossy for photos?
No, commercial leaf shine chemicals, mineral oils, and natural oils should not be used on plant foliage. These products clog leaf stomata, hinder natural respiration, trap dust over time, and risk scorching leaves under strong ambient light or sun.
What is the best camera angle for capturing velvet leaf textures on Anthuriums?
Side lighting combined with a slightly angled forty-five-degree camera position highlights the reflective crystalline cells and physical depth on velvety leaves best. Direct overhead light with a flat front angle tends to flatten surface texture and reduce visual depth.
Action-Oriented Takeaway: Clean leaf surfaces gently with a damp microfiber cloth, set up near diffused window light, manually lower your camera exposure to protect white leaf details, and frame vertically in a 4:5 aspect ratio for clear, authentic photos.