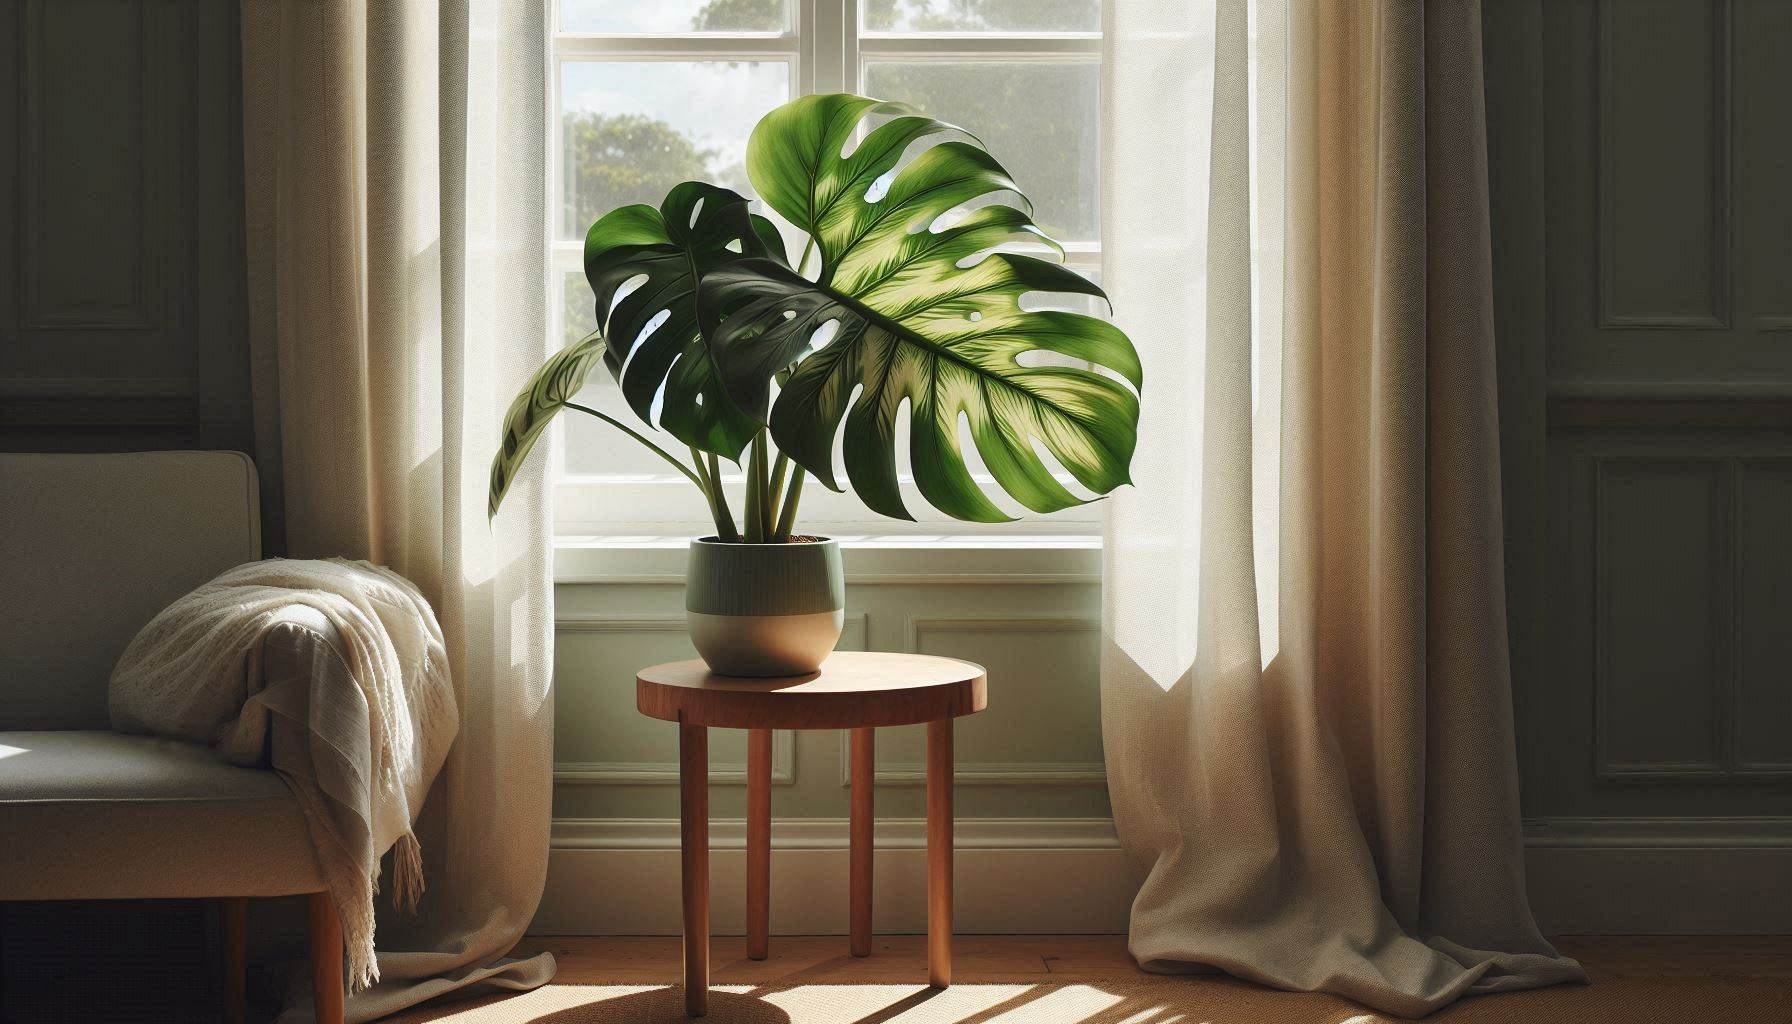
Repotting rare aroids is a high-stakes task where a single misstep can lead to severe root damage or prolonged transplant shock. When handling highly valued species like variegated Monsteras, delicate Philodendrons, or velvety Anthuriums, the margins for error are slim.
The key to a seamless transition is preparation and gentle execution. Minimizing disturbance to the root system, using a highly porous substrate, and maintaining stable post-repotting conditions are crucial. By avoiding common pitfalls, growers can ensure their rare specimens survive the move and thrive in their new containers.
Selecting an Overly Large Container
One of the most frequent errors in repotting aroids is choosing a container that is far too large for the current root system. It is easy to assume that a larger pot provides more room for rapid growth, but the opposite is often true. A massive volume of soil holds a significant amount of water. Because the root system cannot absorb this excess moisture quickly, the soil remains saturated, creating an anaerobic environment.
Observable signs of this issue include yellowing lower leaves, stems that feel soft, and a persistent dampness on the soil surface. While these signs can point to several potential causes, a primary suspect is often the lack of oxygen around the roots due to excessive soil volume.
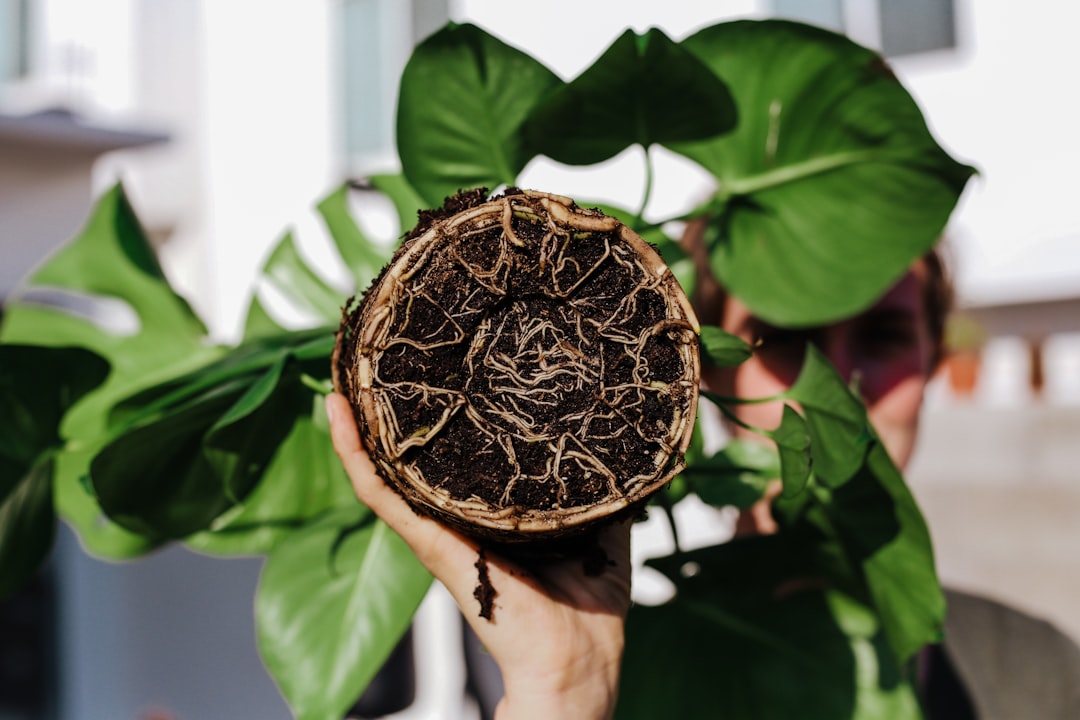
To prevent this, select a pot that is only one to two inches larger in diameter than the current one. The root ball should comfortably occupy about two-thirds of the new container, leaving just enough room for future growth without risking waterlogging.
Using Dense, Heavy Substrates
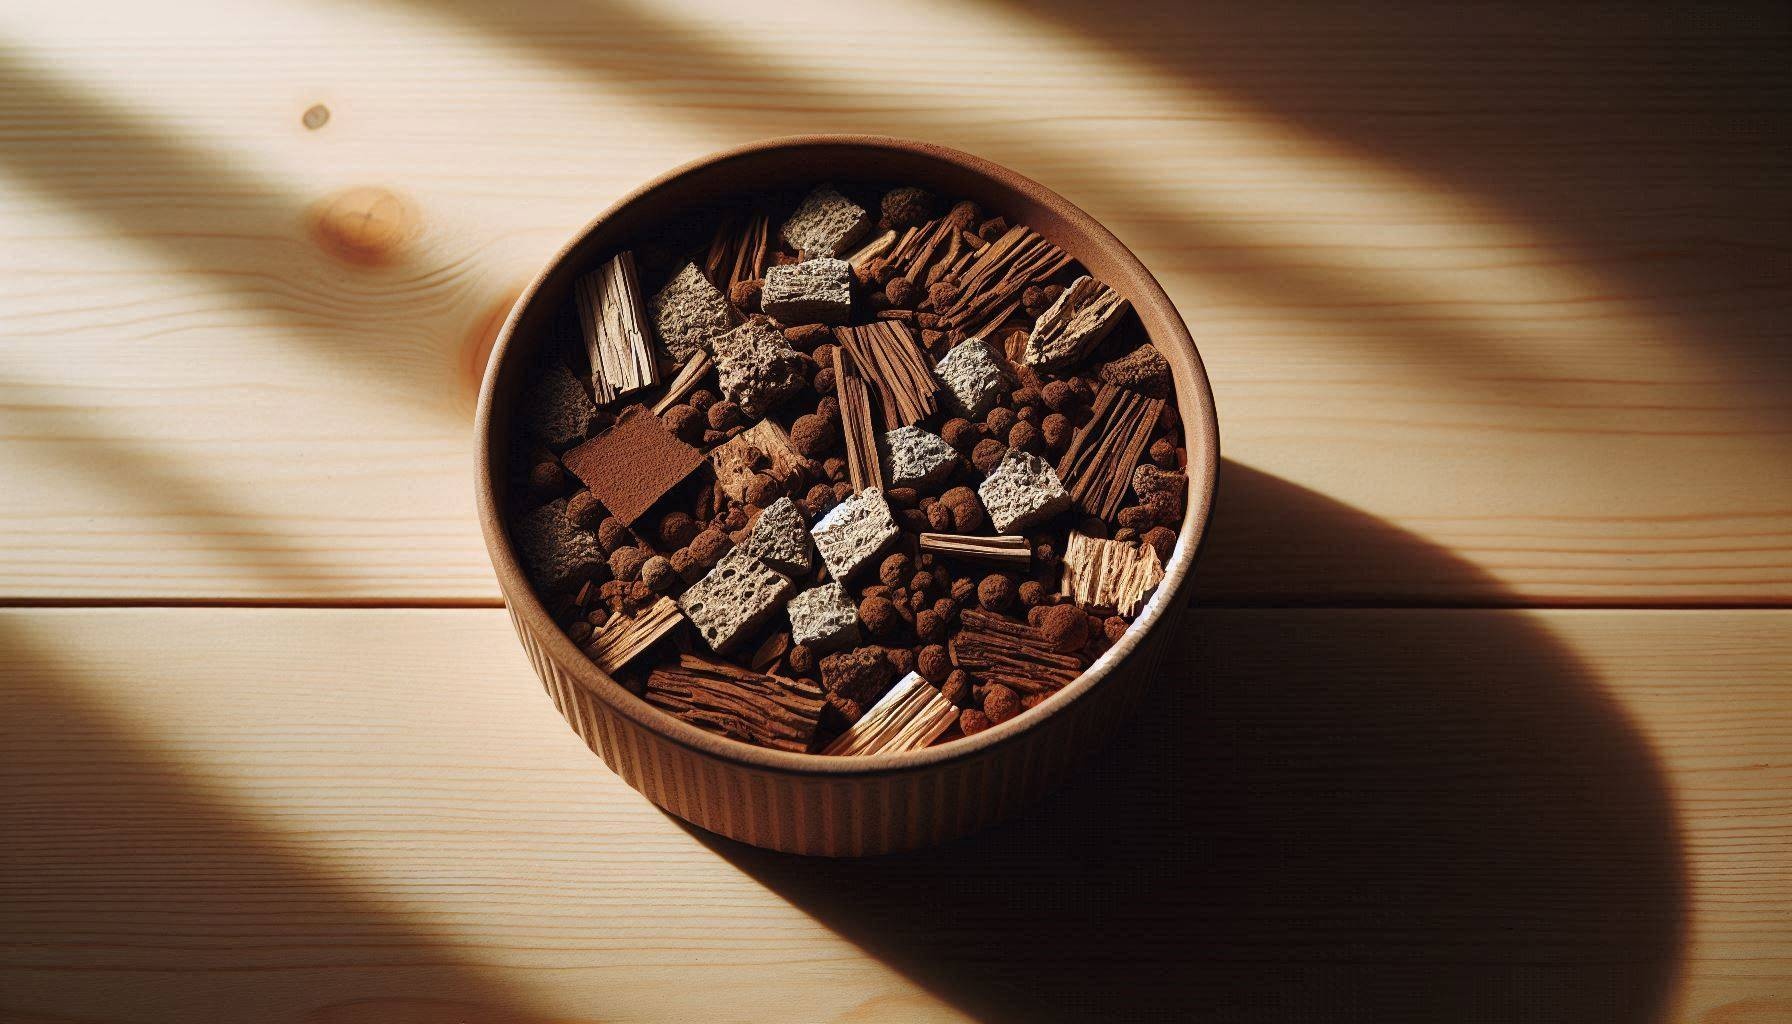
In their natural habitats, many rare aroids grow as epiphytes or hemiepiphytes, climbing tree trunks with their roots exposed to open air and organic debris. They are not adapted to heavy, compacted soils. Utilizing standard garden soil or dense peat-based potting mixes restricts oxygen flow to the root system, leading to compaction and root suffocation.
When preparing the substrate, aim for maximum porosity. A dense soil mix will trap moisture and compress around the delicate root structures over time. For those looking to create the perfect blend, exploring the Best Soil Mix Recipes for Rare Aroid Collections can provide excellent inspiration for combining ingredients like chunky orchid bark, pumice, perlite, and high-quality coco coir.
A well-aerated mix allows water to drain instantly through the pot while retaining just enough moisture in the organic elements to keep the roots hydrated.
Rough Handling of Sensitive Aroid Roots
Rough handling during the transplanting process is a major cause of post-repotting decline. Delicate lateral aroid roots are responsible for absorbing water and essential nutrients. When a plant is forcibly pulled from its pot, or if the soil is aggressively shaken or washed from the roots, these structures tear.
Observable signs of root damage include sudden wilting or drooping leaves shortly after repotting, even if the soil is moist. While this droop can also be caused by environmental changes, root trauma is a common culprit. If the damage is severe, pathogens can enter the micro-tears, potentially leading to decay. For more details on diagnosing and treating these issues, review the guide on How to Spot and Treat Philodendron Root Rot Before It’s Too Late to take swift action.
To minimize trauma, gently squeeze the sides of the flexible nursery pot to release the root ball from the container walls. Slide the plant out sideways rather than pulling it by the main stem, and avoid washing the roots under a harsh stream of water.
Repotting Stressed or Unhealthy Plants
When a rare aroid begins to show signs of decline, the immediate instinct for many growers is to repot. However, repotting is a disruptive event. If a plant is already struggling due to pest infestations, low humidity, or insufficient lighting, the added stress of a move can trigger severe transplant shock.
Observable signs like slow growth or leaf discoloration can stem from various environmental factors, not just a bound root system. Repotting should not be used as a general remedy for a struggling plant unless root rot is confirmed and immediate action is required to save the specimen.
Whenever possible, stabilize the plant first. Optimize its light, humidity, and watering schedule. Once the plant shows signs of recovery and active new growth, it will be much better equipped to handle the transition to a new pot.
Neglecting the Post-Repotting Recovery Phase
The period immediately following the repotting of aroids is a critical transition window. Freshly repotted plants need time to adapt to their new environment and repair any minor root damage. Placing a newly repotted plant in a drafty area, under direct sunlight, or in dry air can overwhelm its compromised water-absorption capabilities.
During this recovery phase, maintaining high humidity is incredibly beneficial. High ambient humidity reduces the rate of transpiration from the leaves, allowing the roots to recover without having to work under high stress. Comparing the utility of Humidity Tents vs Greenhouse Cabinets for Rare Plants can help determine the ideal recovery setup for sensitive or highly valuable specimens.
Avoid placing the plant in direct, intense light immediately after repotting. Keep it in bright, indirect light, and maintain consistent room temperatures. Hold off on using any heavy fertilizers for at least four to six weeks, as tender new root growth can easily burn.
A Quick Checklist for Safe Repotting
To ensure a smooth repotting process, use this checklist before and during the task:
- Sterilize tools: Clean shears with isopropyl alcohol to prevent the spread of disease.
- Check the roots: Repot only when roots are visible through the drainage holes or wrapping around the inside of the pot.
- Moisten the substrate: Ensure the new chunky soil mix is slightly damp, but not soaking wet, before placing it in the pot.
- Support the plant: Install a clean moss pole or trellis during the repotting process to avoid damaging roots later on.
- Fill gently: Do not pack the soil down too firmly; light tapping on the sides of the pot is sufficient to settle the mix.
Frequently Asked Questions
How long does transplant shock last after repotting aroids?
Transplant shock can last anywhere from a few days to several weeks, depending on the severity of root disturbance and the overall health of the plant. Maintaining high humidity and bright, indirect light will help accelerate the recovery process.
Should a newly repotted aroid be fertilized right away?
No, it is best to avoid fertilizing a freshly repotted aroid for at least four to six weeks. The delicate root tips are highly sensitive to mineral salts and can burn easily. When restarting a fertilizer routine, follow the product label instructions carefully.
What should be done with aerial roots during the repotting process?
Aerial roots can either be gently tucked down into the new potting mix to convert them into terrestrial roots, or left to climb a support system like a moss pole. Do not cut healthy aerial roots, as they assist the plant with moisture absorption.
Successful repotting of rare aroids relies on patience, gentle handling, and high-porosity soil. By choosing the correct pot size, preserving root integrity, and optimizing post-repotting humidity, enthusiasts can safely guide their most prized specimens through this essential growth milestone.